PyDev is a plugin that enables Eclipse to be used as a Python IDE (supporting also Jython and IronPython).
It uses advanced type inference techniques to provide features such code completion and code analysis, while still providing many others such as a debugger, interactive console, refactoring, etc.
- See more at: https://marketplace.eclipse.org/content/pydev-python-ide-eclipse#sthash.0052eVTc.dpuf
Here is the installation steps:
1. Open Eclipse
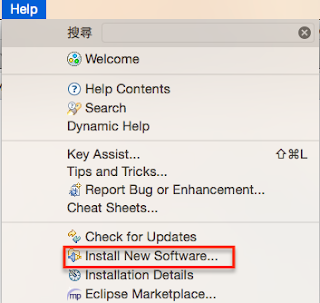
2. Help => Install new software
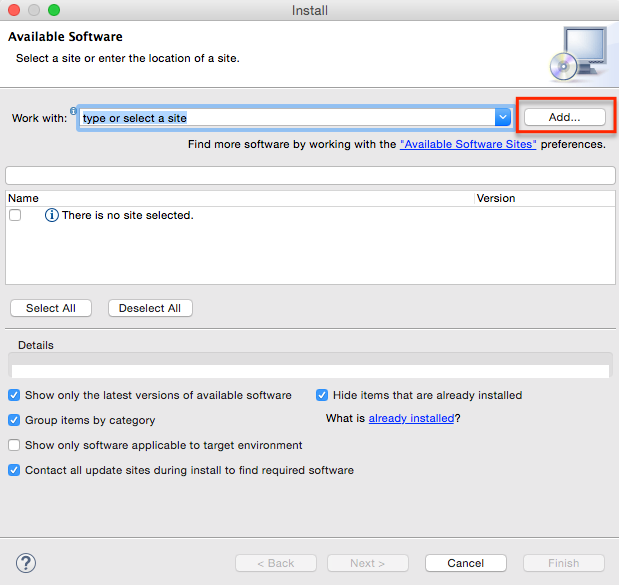
3. Click Add button
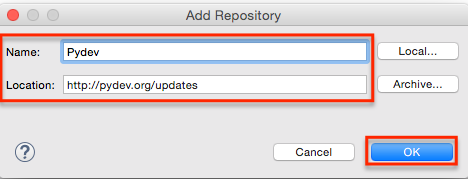
4. Fill in name and location, then click OK button
5. Check PyDev and click Next button
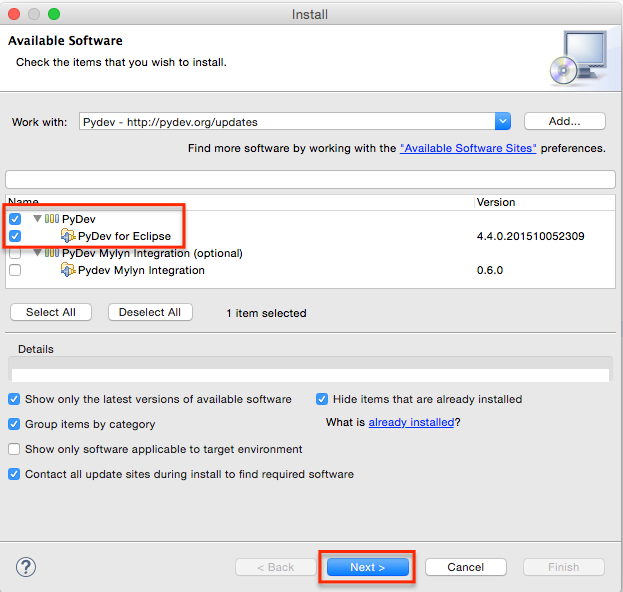
6. Click Next

7. Choose I accept option and click Next button
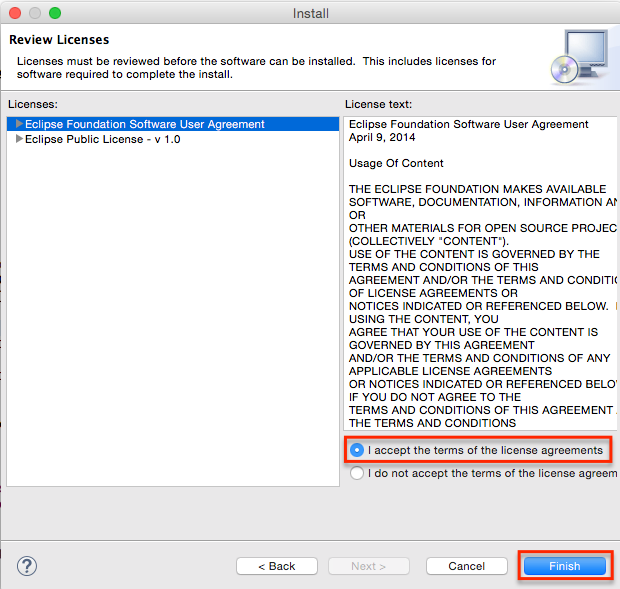
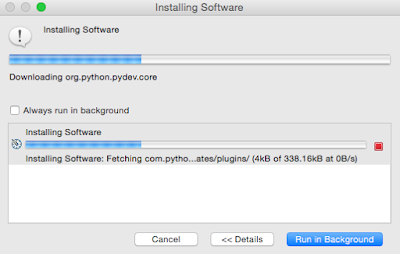
After install PyDev plugin, you need to restart your Eclipse
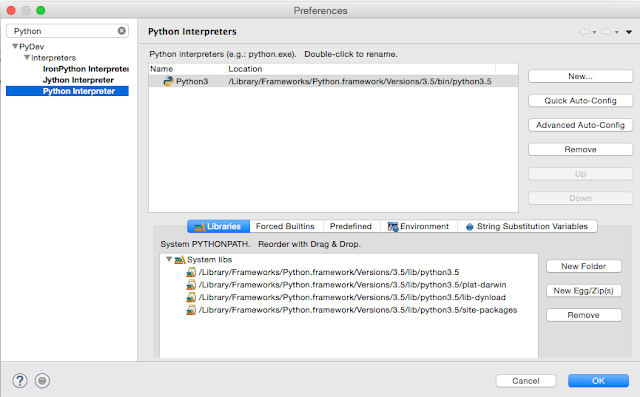
8. Configure Intercepter in preference
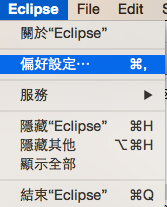
9. Choose the interpreter you have installed in your computer
Create a PyDev Module
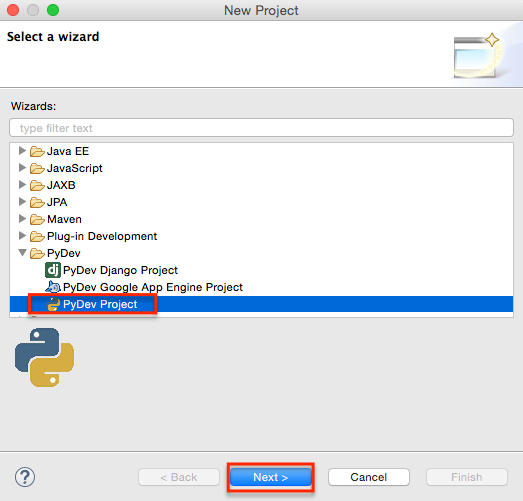
1. create a new PyDevProject
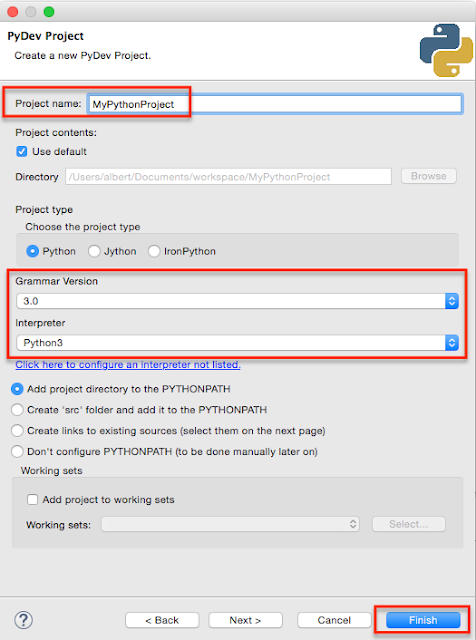
2. Fill in project name, and choose Grammar version & intercepter
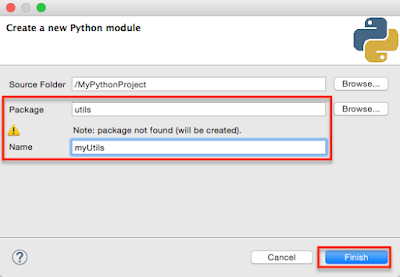
3. Create a utility module which name myUtils
The python code is as bellows:
'''
Created on 2016年1月24日

@author: albert
'''
def printHelloMessage(name):
    print('Hello! ' + name)

def addTwoNumbers(num1, num2):
    return num1 + num2
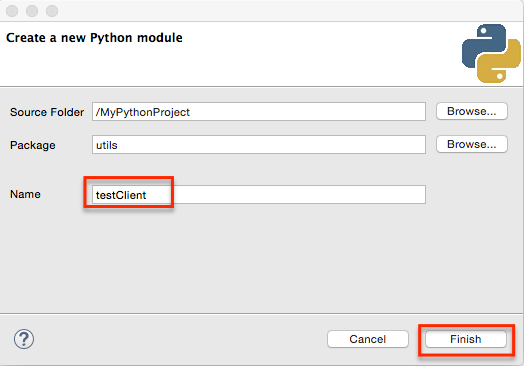
4. Create another test client module to call myUtils
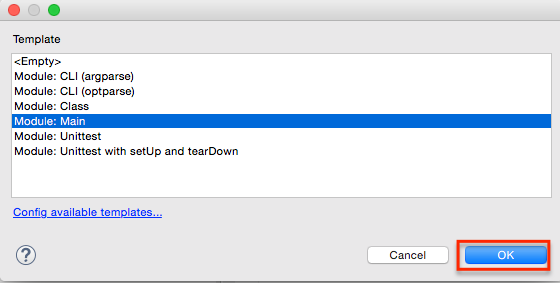
The python code is as following:
'''
Created on 2016年1月24日

@author: albert
'''
from utils import myUtils

if __name__ == '__main__':
    myUtils.printHelloMessage("Albert")

    print(myUtils.addTwoNumbers(10, 20))
Here is the test result:


