
1. download BlazeDS from http://opensource.adobe.com/wiki/display/blazeds/BlazeDS/
2. unzip file and extract BlazeDS.war
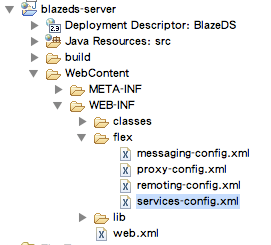
3. Create a new "Dynamic Web Project" in Flex Builder. Called it "blazeds-server"
define your context root, it will has relationship with step5
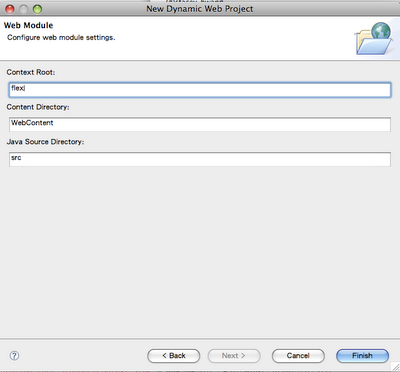
Ater creation, you can see your blazeds-server project had been created.
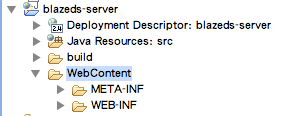
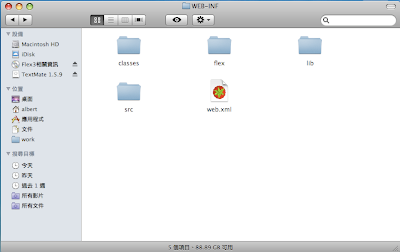
4. Now go back to the folder where you had extracted blazeds.war and import the META-INF and WEB-INF folders from there to the "Webcontent" folder that eclipse had created in the project.
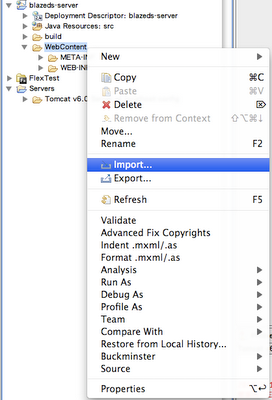
select file system
select all folders under blazeds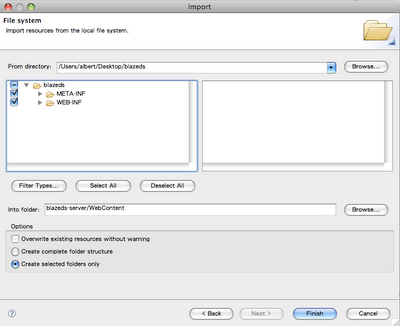
Just click "Yes to All" to overwrite all files
5. Open the services-config.xml file within WEB-INF/Flex folder and change entries
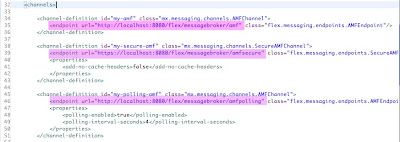
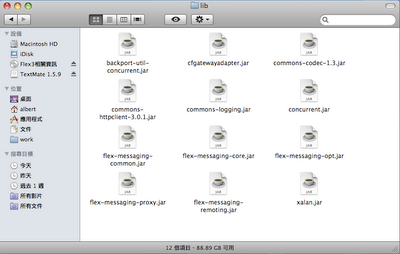
6. Now go back to the folder where you had extracted blazeds.war, set these jar files in WEB-INF/lib into your build path
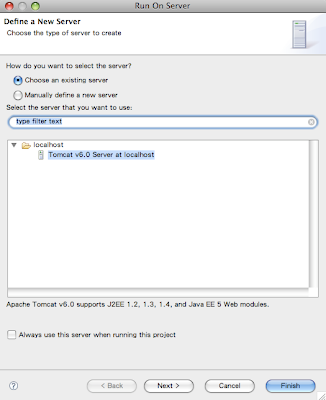
7. Build your project, and deploy to tomcat.
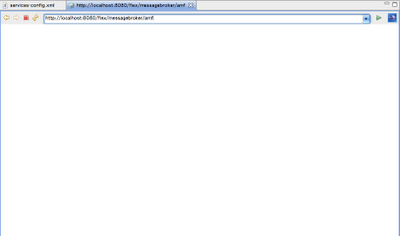
Verify your setup by testing if the amf links are active . Paste the endpoint url you changed on services.xml onto your browser. something like this http://localhost:8080/flex/messagebroker/amf should return you a blank page and not a 404 or 500 error.
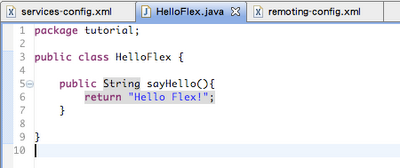
8. create a simple java class
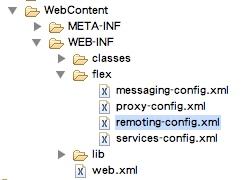
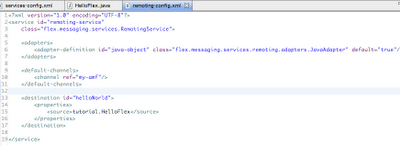
9. define this java class into remoting-config.xml
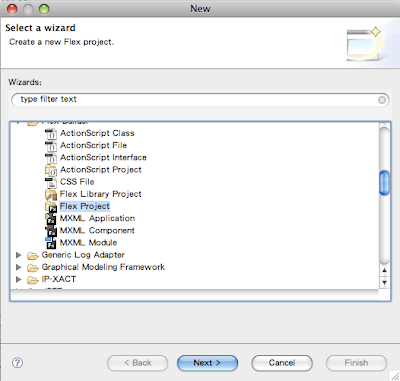
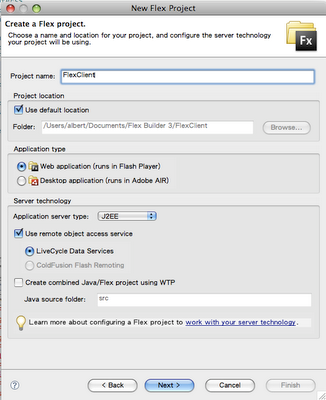
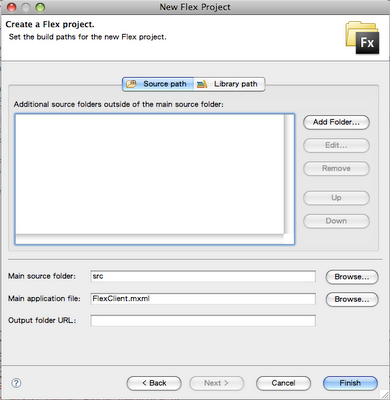
10. NewProject-Flex-select J2ee in application server type.Unselect "Create combined flex/java src folder".Click next
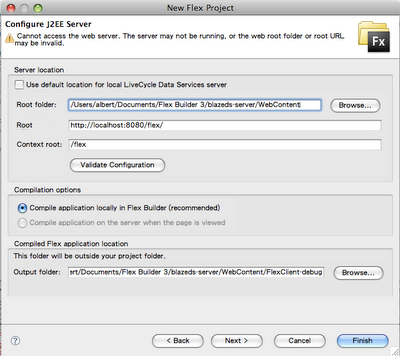
11. Deselect the "Use default location for LCDS " and enter the following.
RootFolder :{youreclipseworkspace}\flex\WebContent\
Root URL:http://localhost:8080/flex/
Context_Root:flex/. Click finish
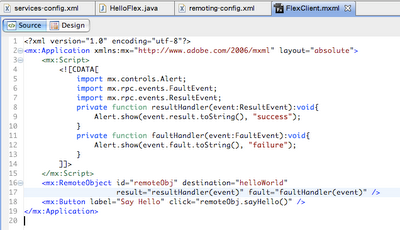
12. Create a simple mxml
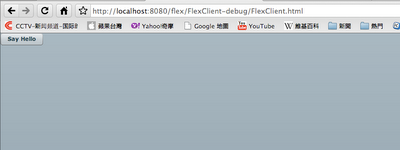
13. Build all and restart the server if its neccessary. RIght click on your mxml and select "Run as Flex application".
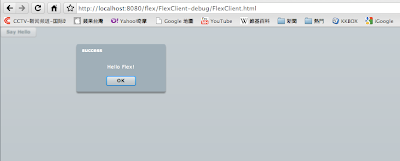
Click on the button. You should be getting a pleasant "Hello Flex!" from your server setup :-)


1 comment:
Works great! Can you explain how to deploy a project to the server?
Post a Comment